


Bucket gardening is a simple yet cost-effective way to get started in growing food at home. Bucket gardens do not take up a lot of space and can be used in situations where space is at a premium. This style of gardening also helps to circumvent issues such as poor or contaminated soil and pests. The buckets are also portable. Bucket gardening is also accessible as the buckets can be elevated so one can sit down and garden.
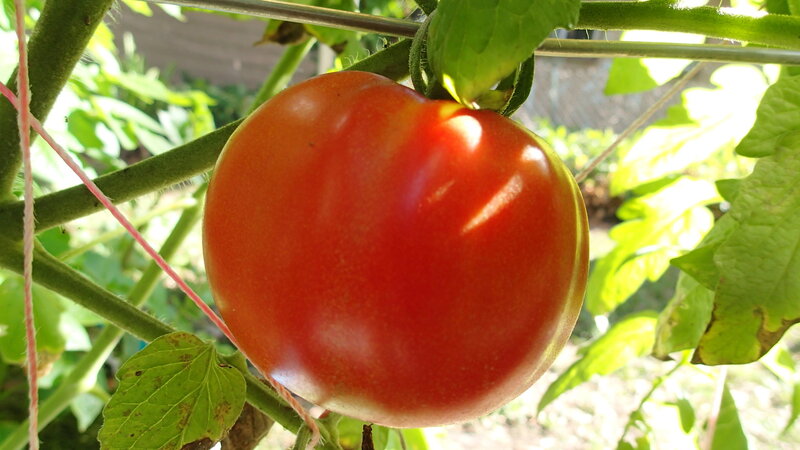
Produce that is great to use in bucket gardening is cabbage, greens: collard, mustard, kale, and turnip; bok choy, onions, potatoes, beets, lettuce, carrots, leeks, beans, squash, cucumbers, and cherry tomatoes, to name a few. Some great sources of heirloom seeds and transplants are Seed Savers Exchange Heirloom Seeds and Baker Creek Heirloom Seed Company.
The first step in a successful bucket garden is purchasing the right buckets. Only use food-grade buckets as non-food grade such as paint buckets can leach toxic chemicals into the growing medium, which is then absorbed by the plants. A good affordable source for food-grade buckets is a big-box retailer like Menards or a local restaurant supply. Their websites often have coupons to obtain the buckets at an even steeper discount.
The next step is to drill drainage holes at the bottom of the buckets. Doing so allows the growing medium to drain properly after watering. After the drainage holes are drilled, select a growing medium. Use a combination of peat moss, compost, and organic potting mix. The growing medium should be light and not heavy.

Stay clear of products such as Miracle-Gro, even the organic version. Miracle-Gro products are made with synthetic fertilizers, which are not good for building healthy soil and can often leach into the water supply.
Some chemical fertilizers are ammonium sulfate, ammonium phosphate, ammonium nitrate, urea, and ammonium chloride.
Also, avoid using topsoil or garden soil when bucket gardening as this soil can become heavily compacted in the bucket. Never use the soil from the garden site. In urban environments like Chicago, the soil can be contaminated. Always err on the side of caution when dealing with soil.
While watering may be a given, what is used to transport the water is very important. If using a garden hose to water the buckets, use drinking water-safe hoses only. Other hoses can leach harmful chemicals into the water, thus transferring those chemicals onto the plants. Non-chlorinated water is best. A garden hose filter can be purchased for under forty dollars on amazon. These can filter out the chlorine from city water and any other contaminants.
Always stick to natural fertilizers such as compost tea, worm tea, or fish emulsion — use fertilizer based on the plant’s individual needs. Barbara Pillow-Sidibeh, agriculture educator for Marshall High School, wraps her buckets securely in tulle fabric. The fabric is reusable and allows easy water and light penetration to the plants but minimizes the local creepy crawler population from making a feast of the produce.
Once the drainage holes have been drilled, the growing medium and seeds or transplants are added to the bucket, and everything has been watered, use something as simple as popsicle sticks inside the buckets to label what is being grown.
This is a list of everything needed to get started in bucket gardening. Stay tuned for next week for step-by-step instructions for growing different kinds of produce in buckets, from leafy greens to tomatoes. Happy bucket gardening!
Written by Ebonee Stevenson
Edited by Cathy Milne-Ware
Featured Image Courtesy of James Poore’s Flickr Page – Creative Commons License
Inline Image Courtesy of Beck Gusler’s Flickr Page – Creative Commons
